 Spicy Trip
Introduction to Solo Kink Safety
Solo kink play demands careful preparation to reduce risks while allowing exploration of self-bondage. This comprehensive guide details emergency release tools and protocols aligned with 2026 safety standards, aimed at beginners progressing to intermediate levels. Strong risk management blends dependable equipment, methodical setups, and thoughtful integration with consent frameworks plus aftercare routines. Practitioners gain practical skills for managing potential emergencies effectively.
Without a partner present, every element of the session must account for independent action. This includes anticipating physical limitations, environmental variables, and the need for immediate access to release options. Building these habits creates a safer foundation for ongoing practice.
Understanding Risks in Solo Play
Solo sessions introduce unique vulnerabilities compared to partnered activities. Circulation restriction, unexpected muscle fatigue, or equipment slippage can escalate quickly without external assistance. Recognizing these factors early helps practitioners design layered safety nets rather than relying on a single solution.
Psychological elements also play a role. Heightened arousal may cloud judgment, making pre-planned protocols essential. Regular self-assessment of physical condition and mental readiness prevents many avoidable issues before restraints are applied.
Essential Emergency Release Tools
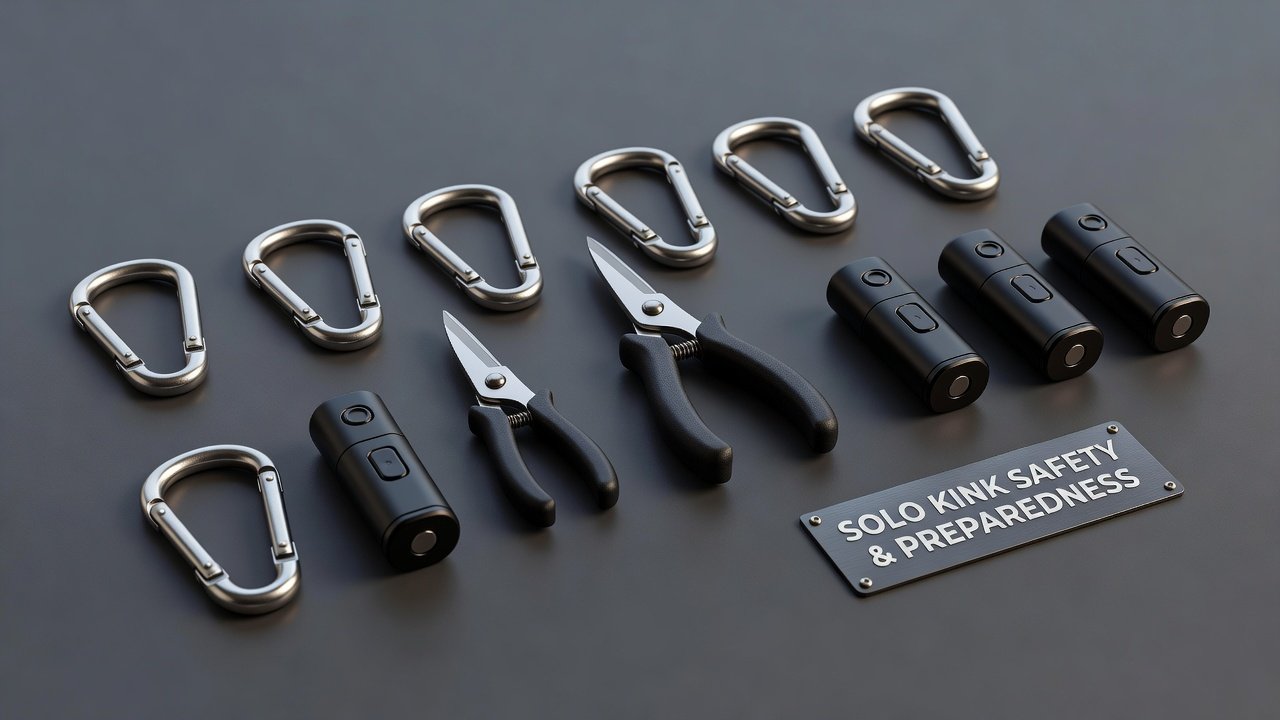
Core tools include quick-release carabiners for swift detachment, safety shears for cutting through bindings, and supplementary items like magnetic releases or timed mechanisms with manual overrides. Each serves a distinct purpose in a complete emergency system.
Quick-release carabiners should feature smooth gates that operate with one hand even under load. Opt for models tested for rescue or climbing applications to ensure consistent performance. Safety shears require blunt tips to protect skin and strong blades capable of slicing common restraint materials such as rope or tape in a single motion.
Additional tools worth considering include vibration-sensitive alerts or position-independent key holders. These create redundancy so that failure of one component does not compromise the entire release strategy.
Tool Selection Criteria and Comparisons
When choosing equipment, evaluate load ratings, ease of use in restricted positions, and resistance to environmental factors like moisture or temperature changes. Commercial products often include warranties and standardized testing data, whereas DIY versions demand extra verification of strength and reliability.
Commercial quick-release systems provide consistency and documented performance metrics. DIY alternatives using modified hardware store items may reduce expense but require thorough load testing and frequent inspection. Many experienced practitioners combine both approaches, starting with proven commercial pieces and customizing only after extensive validation.
Step-by-Step Setup Examples
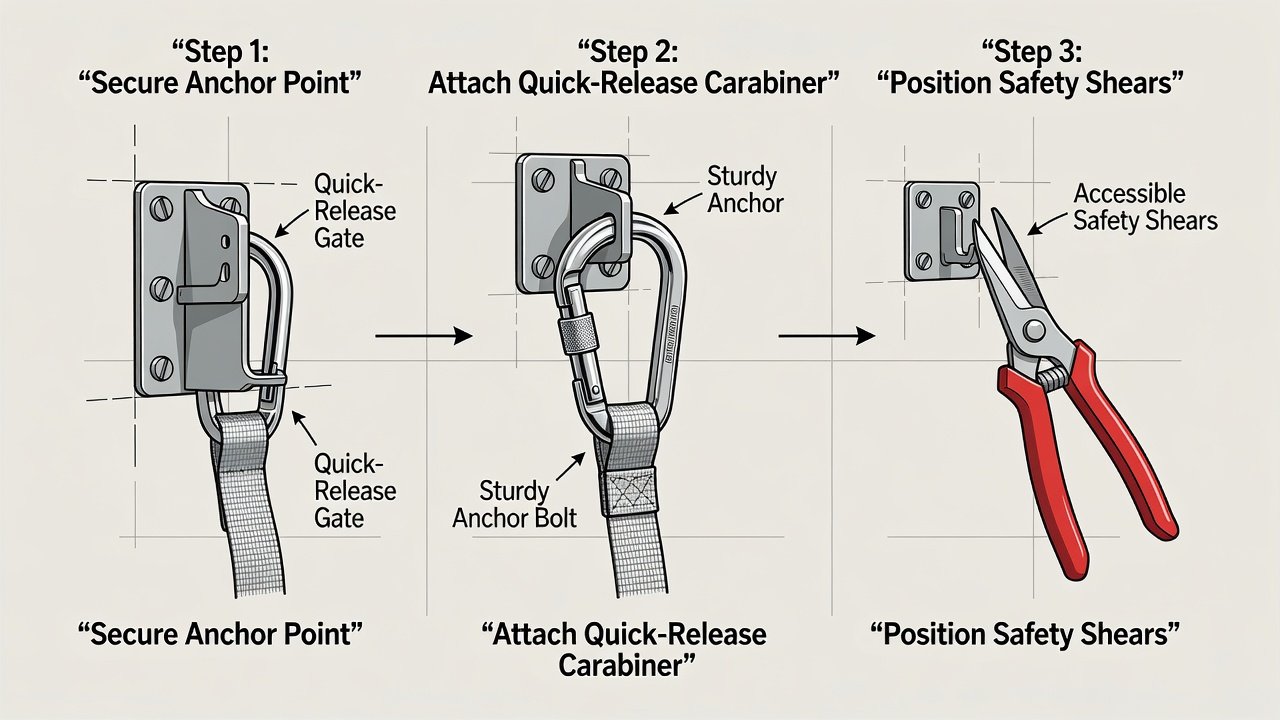
Begin each session by selecting an anchor point that supports full body weight without movement. Attach a primary quick-release carabiner and test its operation while standing normally. Then apply the first restraint, ensuring the release lever remains accessible even when limbs are positioned at their most limited range.
For a basic wrist-to-ankle configuration, route the restraint through the carabiner and confirm the gate opens freely. Place safety shears on a nearby surface or clipped to clothing within arm’s reach. Run through the full release sequence three times before tightening any final knots.
Advanced variations include double-carabiner systems where one serves as backup. Position the secondary release on the opposite side of the body to account for possible arm dominance changes during fatigue. Always rehearse while unbound to embed the motions into memory.
Risk Assessment Checklists
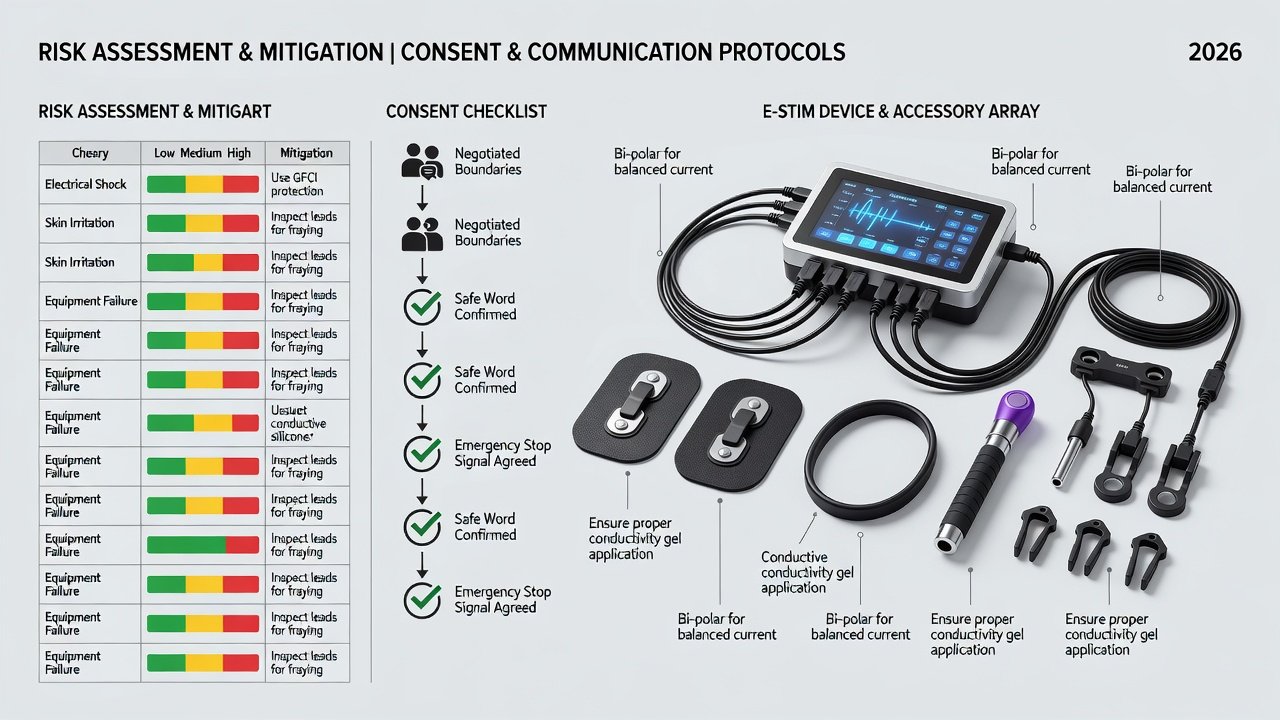
A thorough pre-session checklist covers equipment condition, physical readiness, and environmental safety. Expand the basic list with these detailed items:
- Inspect every carabiner for gate spring tension and absence of burrs that could catch.
- Confirm shears slice a sample of the exact restraint material cleanly and without excessive force.
- Verify anchor stability by applying gradual pressure before full commitment.
- Set an external timer with an audible alert and place a charged phone within reach for emergency contact.
- Assess hydration, recent meals, and any medications that might affect coordination or circulation.
- Review room temperature and ventilation to prevent overheating or chilling during longer sessions.
Completing this list reduces oversight and builds confidence in the overall safety net.
Real-World Failure Scenarios to Avoid
Documented issues often stem from overlooked maintenance, such as corroded carabiner gates that stick under tension. Another frequent problem occurs when shears are placed too far away or become tangled in loose bedding. Practitioners also report panic-induced errors when release sequences have not been practiced sufficiently.
To mitigate these, incorporate deliberate stress testing during rehearsals. Simulate partial restriction and attempt release while counting seconds to measure realistic response times. Adjust placements based on those timed trials.
Maintenance and Storage Best Practices
Store tools in a dedicated, dry container away from direct sunlight to preserve spring tension and blade sharpness. Schedule monthly deep inspections that include lubrication of moving parts and replacement of any item showing wear. Keep a simple log noting purchase dates and inspection results for each piece of equipment.
Rotate backup items into primary use periodically so all components receive regular exercise and remain familiar during actual sessions.
Integrating Consent and Aftercare Routines
Define personal consent parameters in writing before beginning, including hard limits on duration and intensity. After release, allocate dedicated time for physical recovery including stretching, hydration, and temperature regulation. Emotional processing through journaling or quiet reflection supports long-term mental health.
Prepare an aftercare station with items such as water, a blanket, and a timer to track rest periods. This structured approach mirrors best practices promoted by organizations focused on personal safety.
Frequently Asked Questions
What distinguishes reliable quick-release hardware from standard clips? Reliable models carry documented load ratings and feature oversized gates designed for gloved or restricted-hand operation, unlike decorative hardware.
How frequently should safety shears be replaced? Replace shears after any heavy use or at minimum every twelve months, even if blades still appear sharp, to account for hidden metal fatigue.
Is it advisable to combine multiple release methods? Yes, layering at least two independent systems provides critical redundancy if the primary method encounters an unexpected obstruction.
What role does first-aid knowledge play in solo safety? Basic first-aid skills enable faster response to minor circulation issues or small cuts that may occur during release, complementing the tool-based approach.
Conclusion
Developing proficiency with emergency release tools transforms solo kink practice into a controlled and intentional experience. Through detailed selection processes, repeated rehearsals, comprehensive checklists, and consistent maintenance, practitioners establish robust safety layers. Continued learning and adaptation to new equipment standards support safer exploration well into the future. For additional guidance on personal safety and emergency preparedness, refer to resources from the World Health Organization, Centers for Disease Control and Prevention, and American Red Cross.
No comments yet. Be the first!