 Spicy Trip
Introduction to Solo Kink Play Safety
Solo kink play, particularly self-bondage, allows individuals to explore personal boundaries in private settings. However, it demands rigorous safety protocols to mitigate risks like restricted circulation or inability to escape. This guide addresses BDSM safety fundamentals tailored for solo scenarios in 2026, emphasizing personal risk management and practical tools. Self-bondage appeals to many because it offers complete control over timing and intensity, yet the absence of a partner means every element must be pre-planned with precision. Beginners often underestimate how quickly situations can escalate, making education on BDSM safety non-negotiable. Throughout this article we will examine equipment choices, step-by-step protocols, emergency planning, physical monitoring, aftercare, and comparisons between solo and partnered approaches. Real-world scenarios illustrate how small oversights can lead to serious consequences, while checklists provide actionable guidance.
Understanding the Unique Risks of Self-Bondage
Unlike partnered play, solo scenes lack immediate assistance. Common hazards include positional asphyxia, nerve compression, and equipment failure. Beginners should start with short sessions under 15 minutes to build awareness of physical limits. Always prioritize consent with oneself by setting clear boundaries beforehand. Circulation problems can develop within minutes if cuffs are too tight, and nerve damage may occur from prolonged pressure on elbows or wrists. Environmental factors such as room temperature and surface stability also matter; a cold floor can accelerate muscle fatigue. Psychological risks include panic attacks triggered by unexpected sensations of helplessness. Practitioners should maintain a detailed log of each session noting duration, equipment used, and any discomfort experienced to identify patterns over time.
Essential Safety Tools and Quick-Release Mechanisms
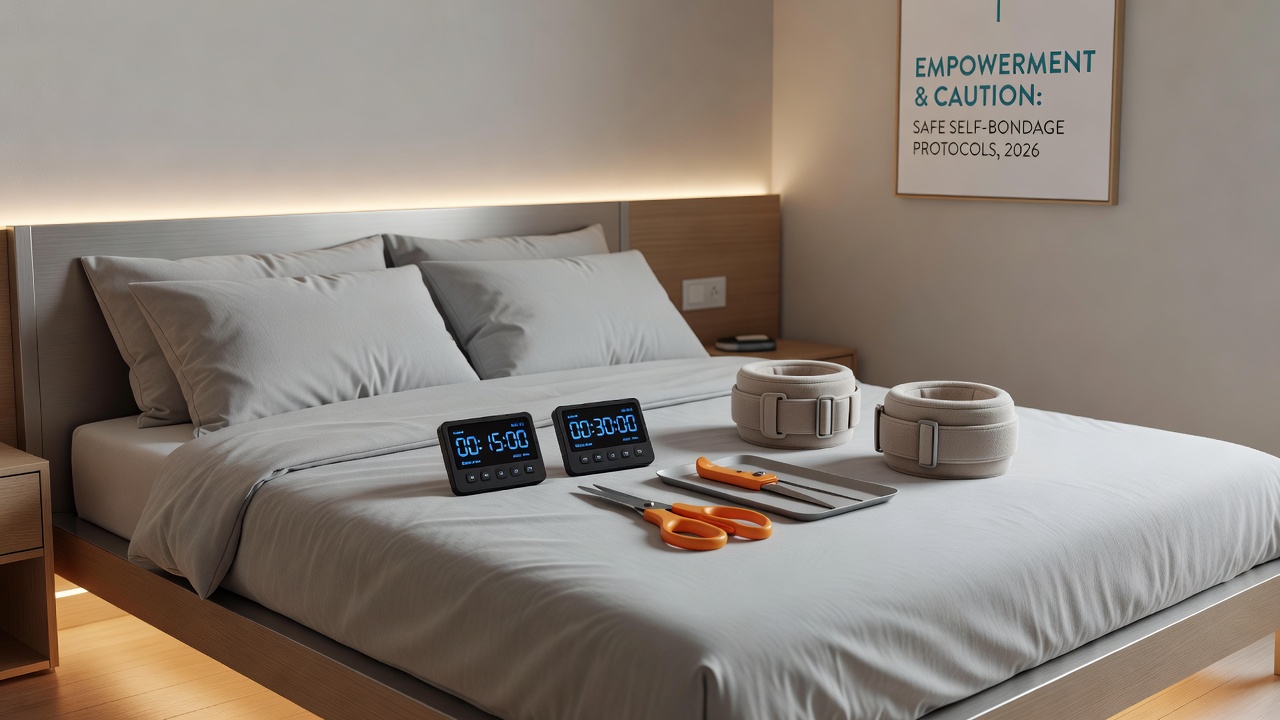
Core items include safety shears for quick cutting, timers for automatic release, and ice-lock systems that melt over time. Position quick-release carabiners within reach. Integrate a backup timer app on a nearby device. For monitoring, use pulse oximeters to track oxygen levels during restraint. Additional recommended tools include a charged mobile phone within arm's reach set to voice dial emergency services, a medical alert bracelet listing any pre-existing conditions, and non-locking carabiners rated for body weight. Ice locks provide a passive release mechanism but should never be the sole method; always combine them with a mechanical timer. Test every tool in advance under non-bondage conditions to confirm reliability. A common setup pairs Velcro cuffs with a kitchen timer that triggers an audible alarm, giving the practitioner a final cue to release before circulation issues arise.
Step-by-Step Setup Protocols for Beginners
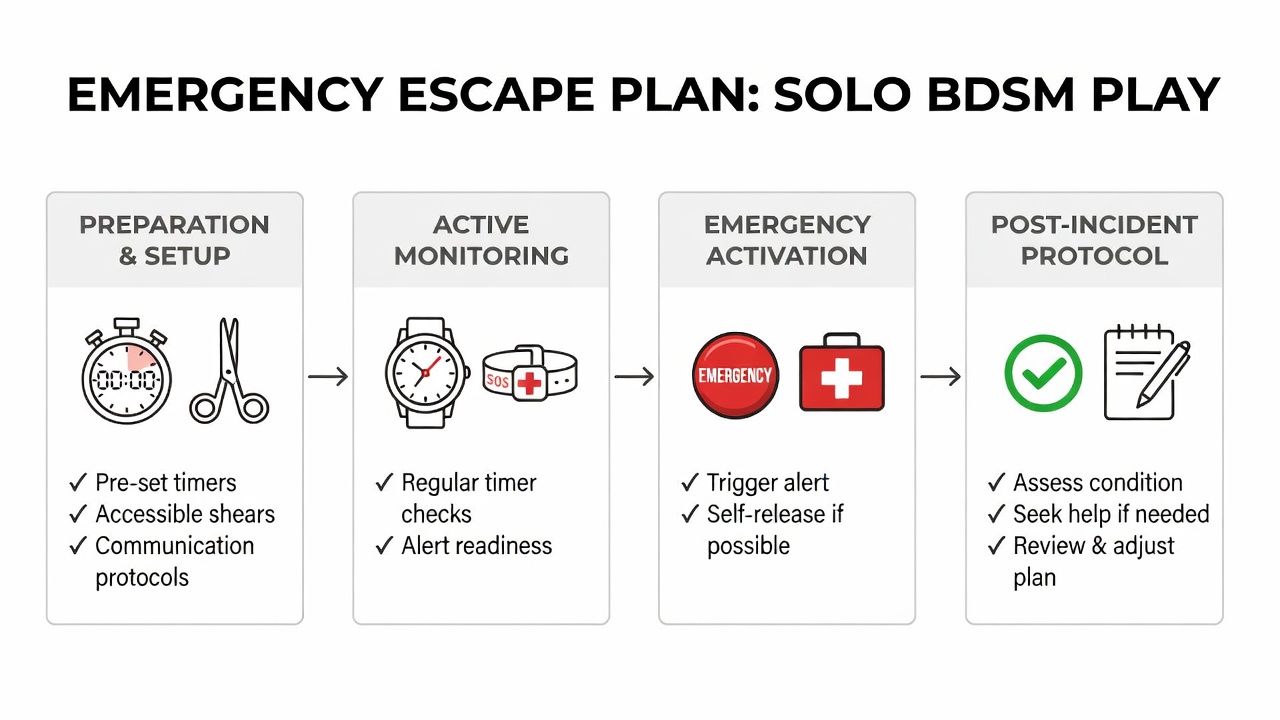
1. Choose a safe environment free of hazards. 2. Test all equipment unbonded first. 3. Apply restraints gradually, starting with non-critical areas. 4. Set multiple timers and keep shears accessible. 5. Document your session plan in writing. Real-world example: A beginner uses Velcro cuffs with a 20-minute timer, checking circulation every five minutes by wiggling fingers and noting color changes. Expand this protocol by photographing your setup before restraint so you can reference the image if panic sets in. Always have a second set of shears in a different location in case the first becomes unreachable. Practice the full sequence at least three times without bondage to build muscle memory.
Building a Personal Emergency Plan
Create a detailed plan including emergency contacts, location of keys, and medical history notes. Practice escape drills monthly. Include a "safe word" system via voice-activated devices if possible. Review and update this plan quarterly for 2026 relevance. An effective plan lists the exact location of every release tool, the phone number of a trusted neighbor who can be called without explanation, and instructions for paramedics regarding how to cut restraints without causing further injury. Store a printed copy of the plan near the play area and another copy on your phone. Update the plan after any change in living situation or health status. Consider adding a laminated card with your blood type and allergies attached to the bed frame for quick access by first responders.
Monitoring Physical Limits During Solo Scenes
Watch for signs of distress such as tingling, dizziness, or discoloration. Use the traffic light system internally: green for comfortable, yellow for caution, red for immediate release. Hydrate before and after, and avoid substances that impair judgment. Check pulse at the wrist or neck every few minutes and compare readings to your resting baseline. If skin around restraints turns pale or blue, release immediately regardless of remaining time. Muscle cramps often signal impending nerve compression; stretching before the scene reduces this risk. Keep a small mirror positioned to view your face and monitor for flushed or ashen complexion. Record heart rate and perceived exertion levels in your session log to refine future limits.
Integrating Tailored Aftercare Routines
Post-scene care involves physical checks, hydration, and emotional reflection. Journal sensations and any near-misses. Compare to partnered aftercare by focusing on self-soothing techniques like warm baths or favorite music. Begin aftercare by removing restraints slowly and massaging limbs to restore circulation. Follow with a warm shower, nutritious snack, and at least 30 minutes of quiet time. Emotional aftercare may include listening to a guided meditation or writing a gratitude list. Schedule a follow-up check-in with yourself the next day to assess any delayed soreness or mood changes. Many practitioners create a dedicated aftercare kit containing lotion, electrolyte drinks, and a favorite blanket stored in the same space as their bondage equipment.
Solo vs Partnered Safety Approaches: Practical Comparisons
- Solo: Requires more redundant tools and self-monitoring; example checklist includes triple-checking releases.
- Partnered: Allows verbal check-ins but demands mutual consent protocols; see Planned Parenthood for communication basics.
Checklists help bridge gaps in both approaches. In solo play the practitioner bears full responsibility for every decision, whereas partnered scenes distribute attention across two people. A practical comparison shows that solo practitioners benefit from written protocols while partnered pairs often rely on verbal negotiation. Both benefit from periodic safety reviews and updated equipment inspections. For additional health guidance consult CDC guidelines on personal wellness and Mayo Clinic resources on circulation and nerve health.
Common Pitfalls to Avoid
Avoid complex knots without practice, ignoring time limits, or using household items unsafely. Never bind alone if new to the practice—start supervised where possible. Another frequent mistake is underestimating how quickly fatigue sets in; even experienced users report losing fine motor control after 25 minutes. Using cheap hardware that can jam under tension has caused multiple documented emergencies. Always verify that scissors can cut through your specific restraint material before relying on them. Avoid placing keys or releases in positions that require fine dexterity once circulation is reduced.
FAQs on Consent with Oneself and Distress Signs
Q: How do I practice self-consent? A: Define limits in advance and honor them strictly. Q: What are early distress signs? A: Numbness, shortness of breath, or panic—release immediately. For health resources, consult CDC guidelines on personal wellness. Additional questions include how to handle unexpected visitors and whether to inform roommates of your activities. Always maintain an unlocked door policy during solo sessions unless you live alone.
Downloadable Safety Audit Template for 2026
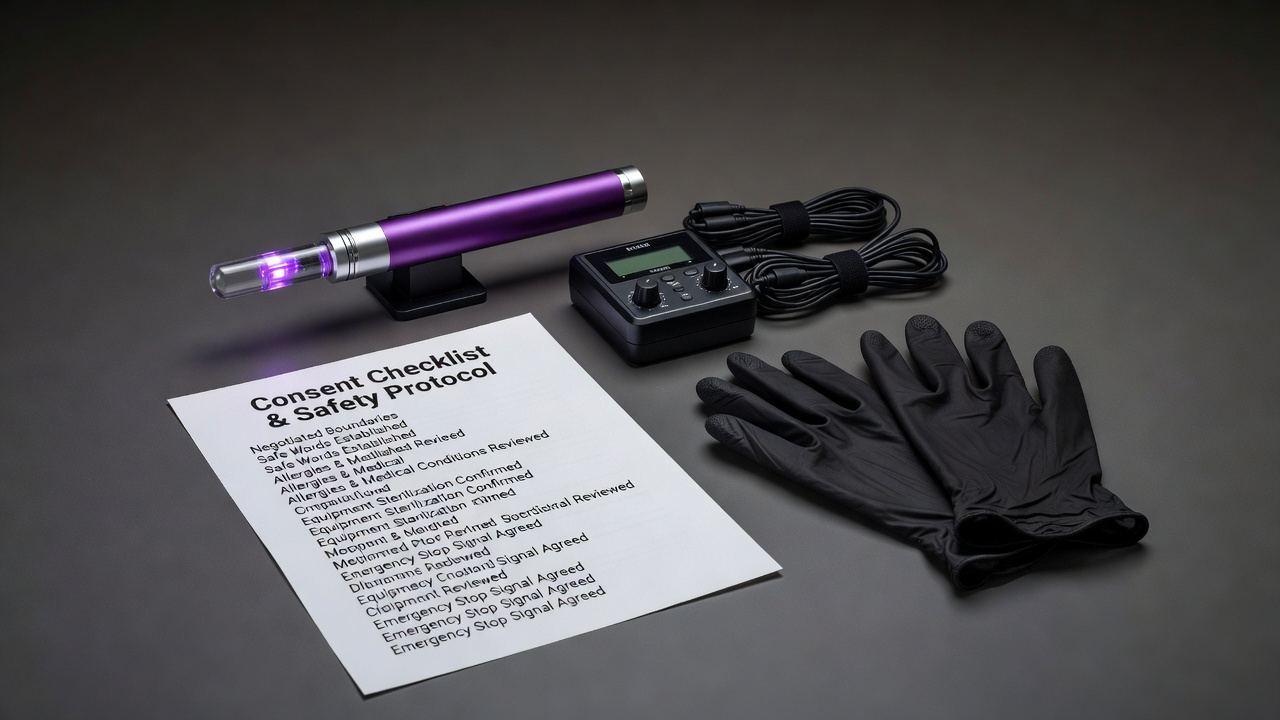
Update your audit with current best practices: list tools, test dates, and emergency contacts. Review annually or after any incident. The template should contain columns for equipment name, last inspection date, expiration if applicable, and notes on condition. Include a section for mental readiness self-assessment rated on a 1-10 scale. Print multiple copies and store one digitally in a secure but accessible folder.
Conclusion
Mastering self-bondage safety enhances fulfilling solo kink experiences. Consistent application of these protocols fosters confidence and reduces risks effectively. Regular review of techniques and tools ensures continued growth in safe, enjoyable practice throughout 2026 and beyond.
No comments yet. Be the first!